Advanced Text Animations in After Effects
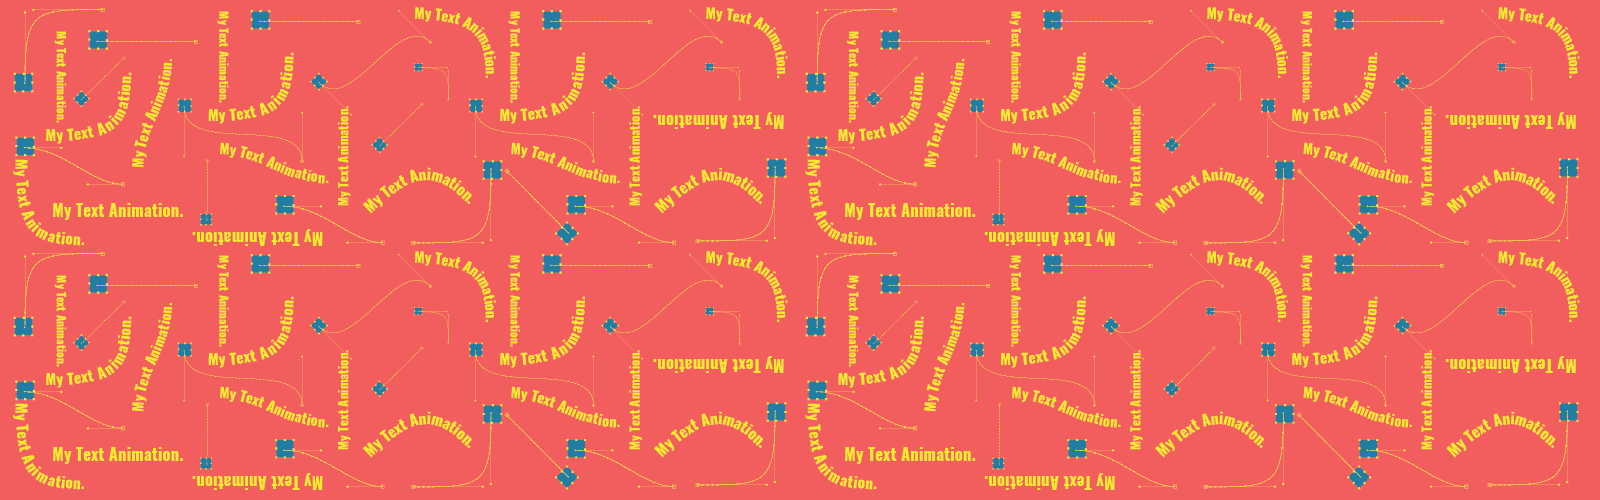
Text animation is a detail that makes videos much more interesting when properly used. The problem is that every time I needed to create a text animation that had everything to do with my video, I struggled until I achieved an acceptable result. That’s why I created this tutorial to create advanced text animations in After Effects.
The presets that come with After Effects are not cool, you can’t really use them in a professional job. ‘Slow Fade On’ may be the exception, I’ve used it a lot!
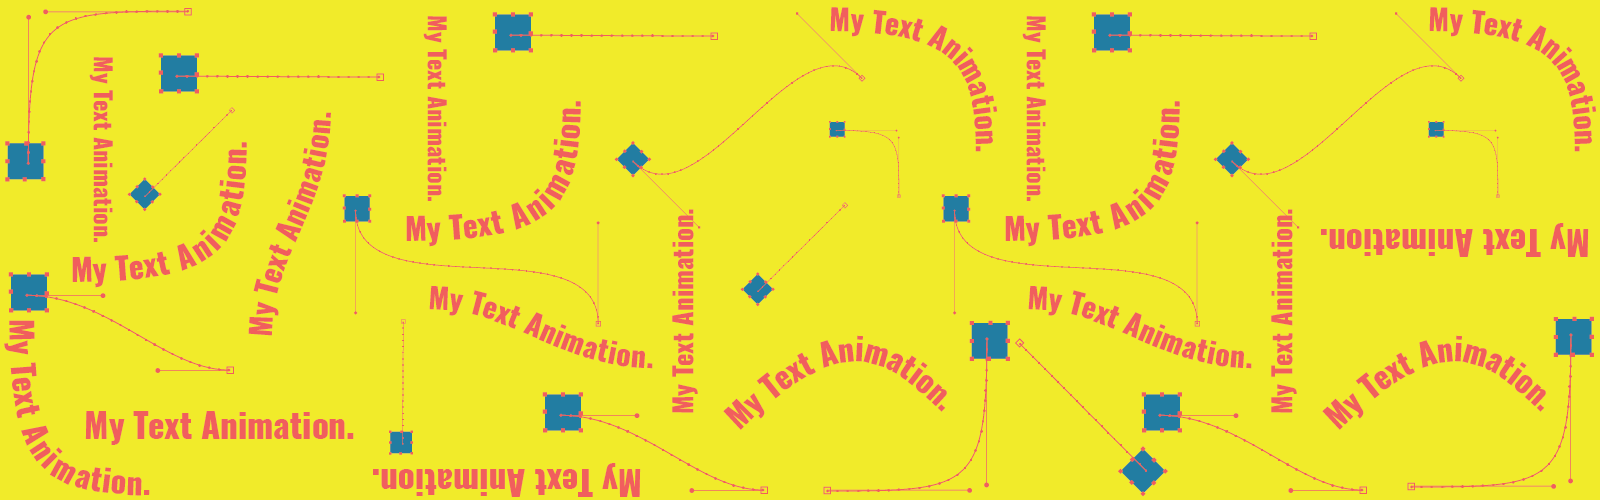
And to use the After Effects text tool from scratch you need a Ph.D., the tool is quite complicated! By studying in-depth how it works, I understood that it is not only complex, but it has a key issue: it is an interpolation tool. You define a position and it will interpolate its current value and the new position and vice versa. Anything outside of this will take plenty of work.

That’s why I want to teach you how to develop custom animations, with all the control you need, easily and quickly, using the animation knowledge you have already. I will use 5 examples, which you will follow step by step.
PREREQUISITE
To follow this tutorial you need to use the project I teach you how to build in this article. You can download the project at the end of the article.
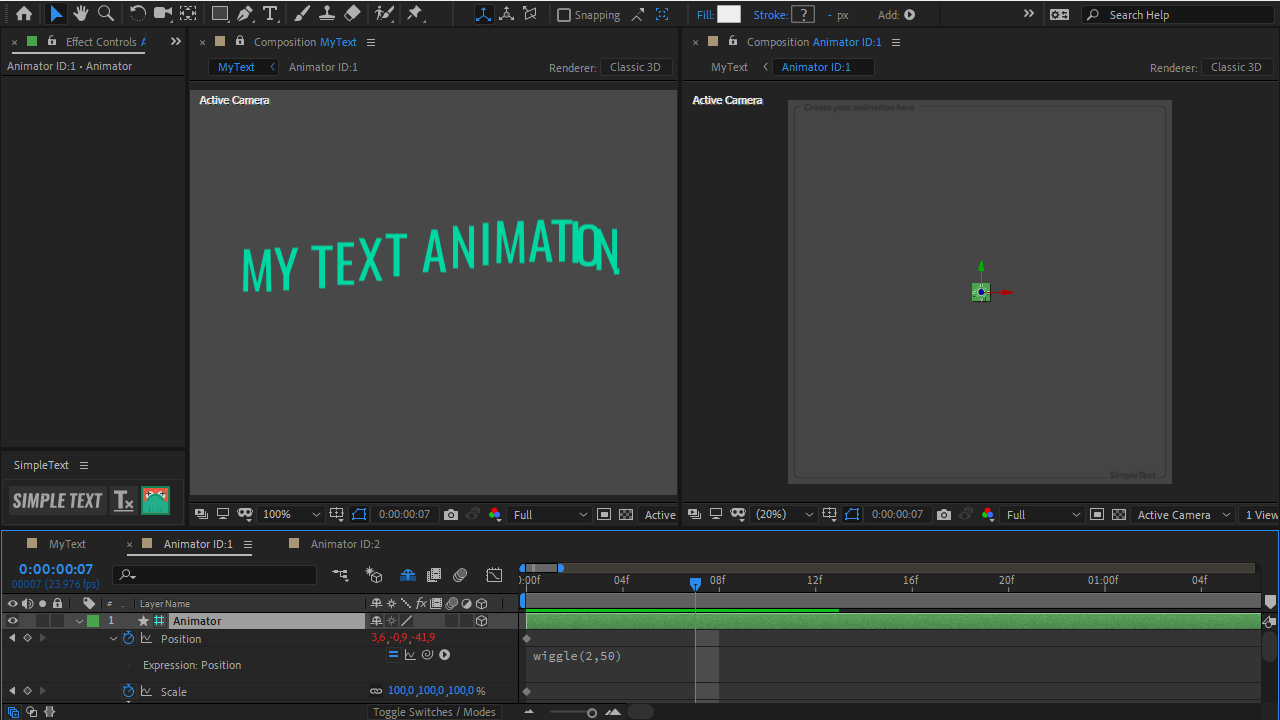
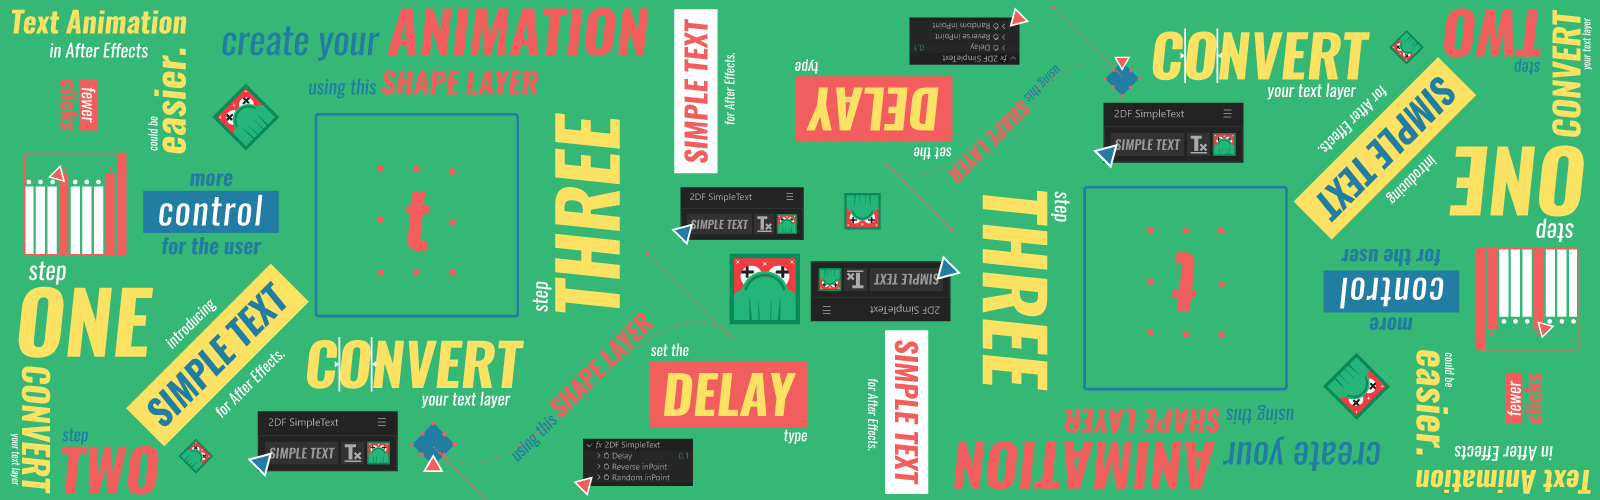
But if you really want to add this technique to your workflow, I suggest you Simple Text. I spent a year studying scripts in After Effects just to make this workflow more practical through the script.
With just one click, it creates the controller structure you’ll need to develop text animations in a real practical way. You can choose different types of delay, while quickly interposing animators. You should know it!
DOWNLOAD THE PROJECT AT THE END OF THE ARTICLE
If you want to learn, play with or even use in your work these animations that I’m about to teach, the project can be downloaded at the end of the article.
TUTORIAL
I sorted the animations by complexity, from the easiest to hardest. I find it super difficult, perhaps even impossible, to create this sort of animation with the tool that comes with After Effects. As a matter of fact, I find it difficult to have this level of control and agility in any present-day tool when it comes to creating text animations. Of course, if you know a technique or tool that allows you to create this kind of solution in a practical way, I ask you to share it with me, I will love studying and learning from it.
First Animation Video Tutorial
FIRST ANIMATION
It’s a simple wave of tiny letters. It’s a simple animation from a visual standpoint, but quite difficult to replicate with the After Effects animators, for a simple reason: the animators don’t allow you to manipulate the Bezier curves of the text animation path. To get a close result, you would have to use a path to guide your text, and it gets a little more complicated that way. But, by following this technique, things will get easier!

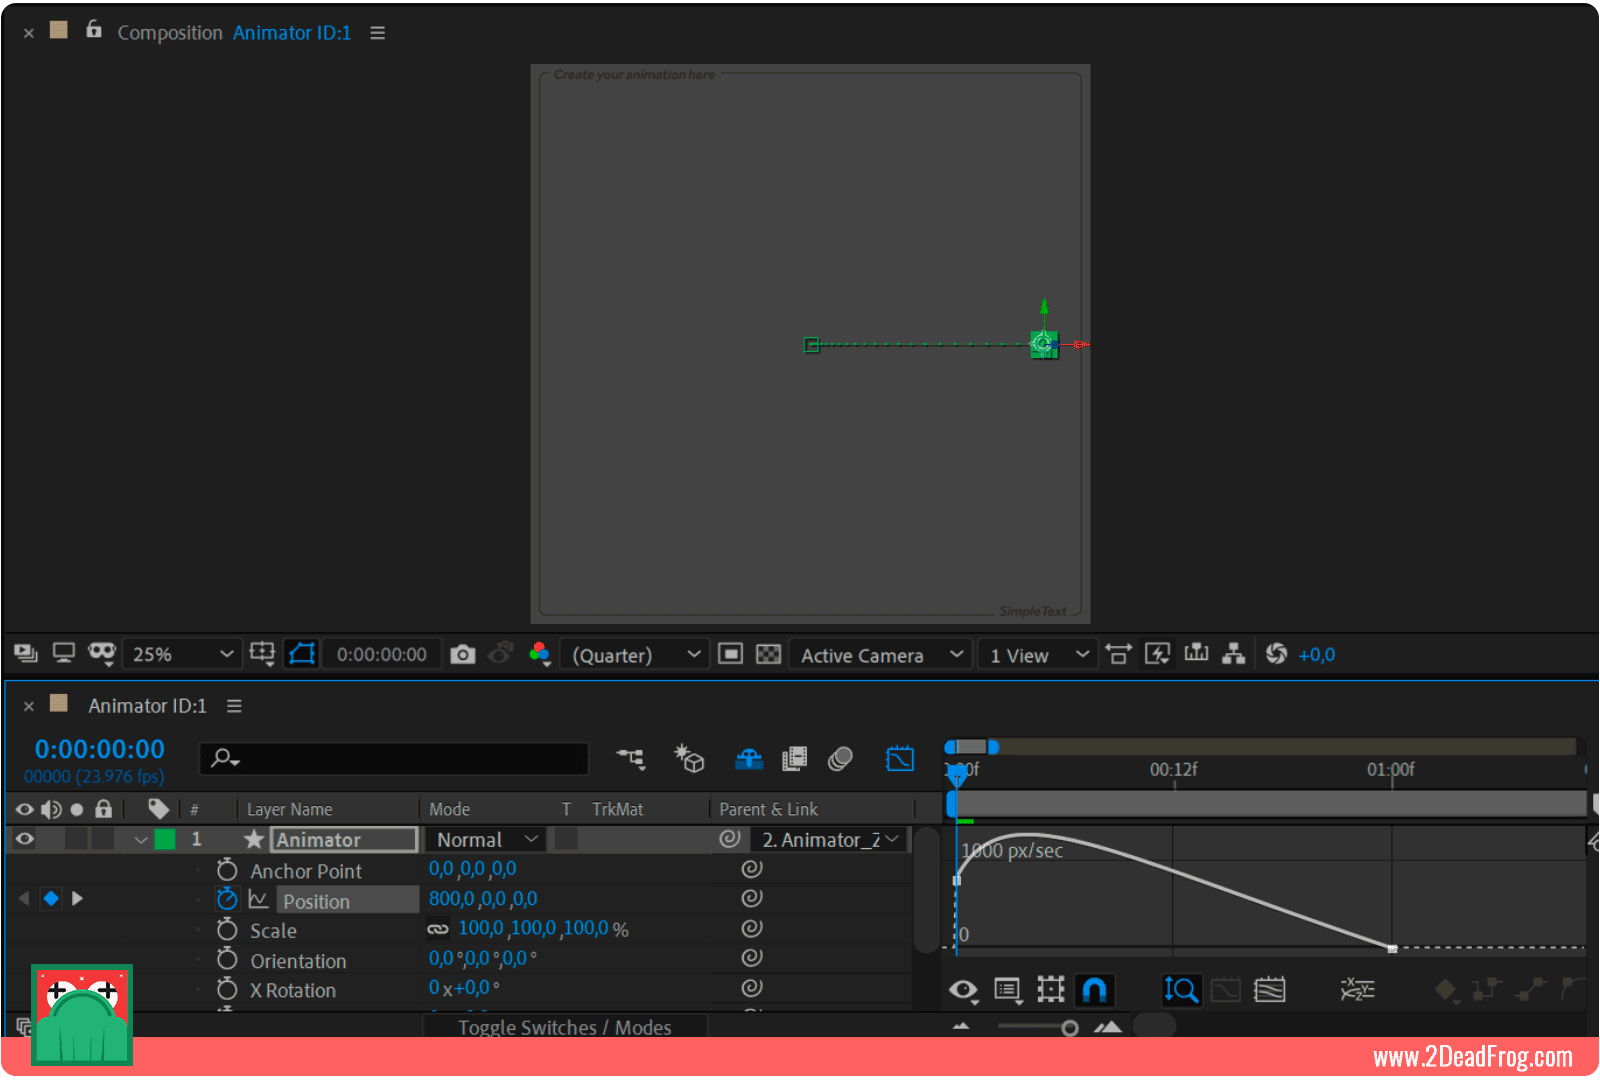
1. On a zeroed controller, without animations, mark two position points. One in the second zero, the values in each axis will be [800,0,0].
I’m using the array format to make it simpler to display the values. Each axis is separated by a comma, in the case above, we have 800 for X and 0 for Y and Z.
Set the second point on frame 24 (or one second), with the position values [0,0,0]. In the Graph Editor, set the speed on the second keyframe to zero and the influence to 70%.
If you have any tools to manipulate the After Effects speed curve faster, like Motion 3, you can use them!
2. Mark 3 new points on the position parameter, at 5, 10 and 15 frames. Change the Y of each point to -50, 40, -20 respectively.
Edit the Bezier of the path to make them properly round.

3. Now you can create an animation in the scale parameter, from 0 to 100 in 5 frames, you can adjust the second point to easy-ease by pressing F9.
This animation is ready. Compare your controller to the one shown in the image below. Their animation should be quite similar.

Can you see how important is editing the animation path using the Bezier curves? The possibility to use the Graph Editor also makes the work much easier!
SECOND ANIMATION
Mixing animation parameters with different times can be complicated. You can spend plenty of time trying to make an animation like this with the standard After Effects tool. But it doesn’t have to be like that.

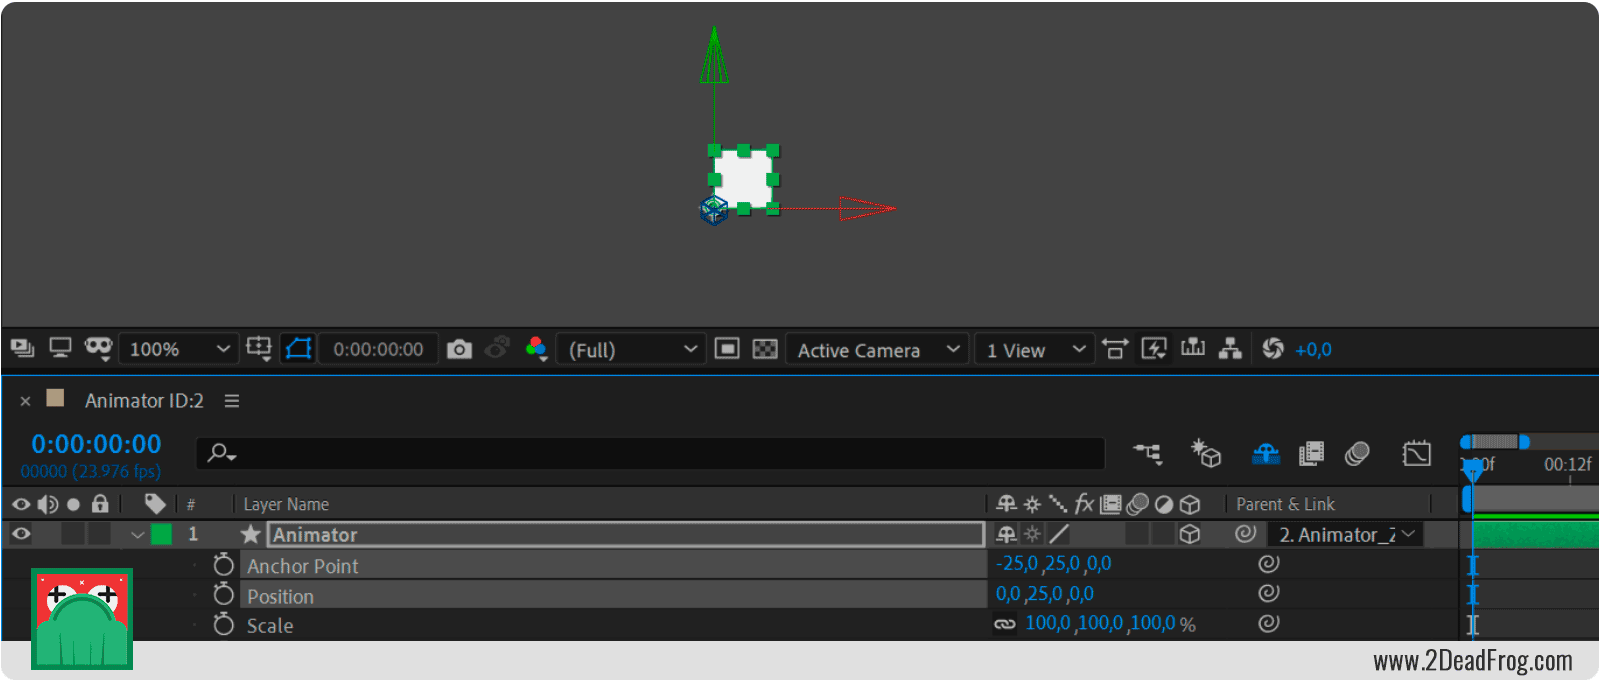
1. We need to simulate that the Anchor Point of the letter is in its lower-left corner, for that we will set the controller’s Anchor Point at [-25, 25, 0]. And the Y position at 25.
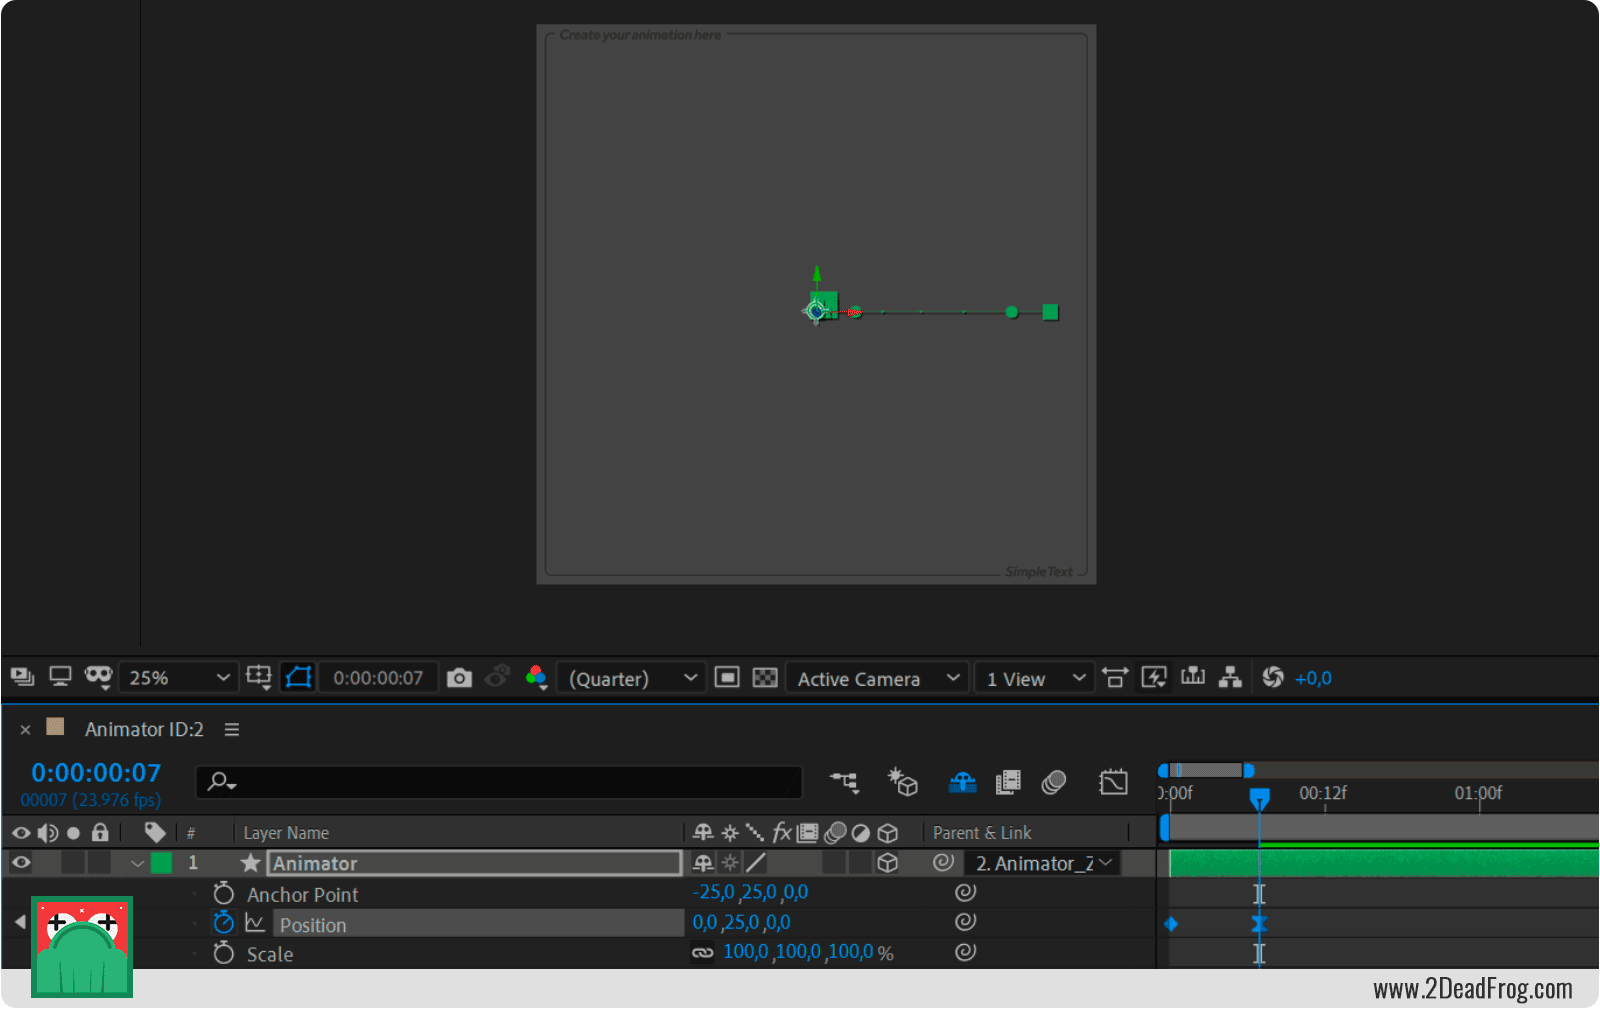
2. Create an animation in the X-axis of the controller position. In the beginning, the Y should be 800. At 7 frames, 0. Apply the easy-ease to the second keyframe.
3. At frame 5, mark a key frame on Z Rotation. Then mark another 4 key frames according to the times and values below:
At 11 frames it should be -40.
At 14 frames, 0.
At 16 frames -5.
At 18 frames 0.
Edit the curves in the Graph Editor to look like the image below.

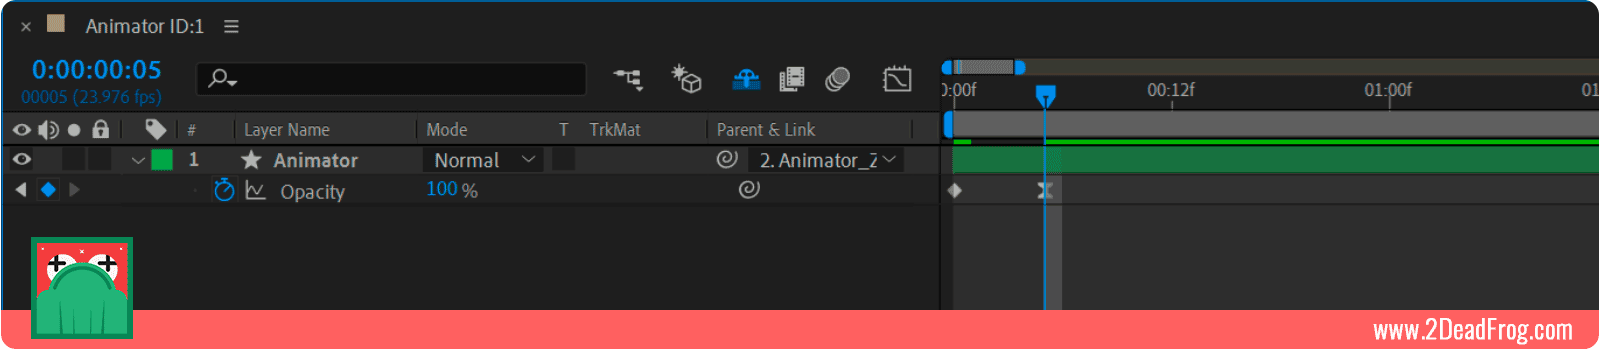
4. Animate the opacity from 0 to 100 in 3 frames in the beginning.
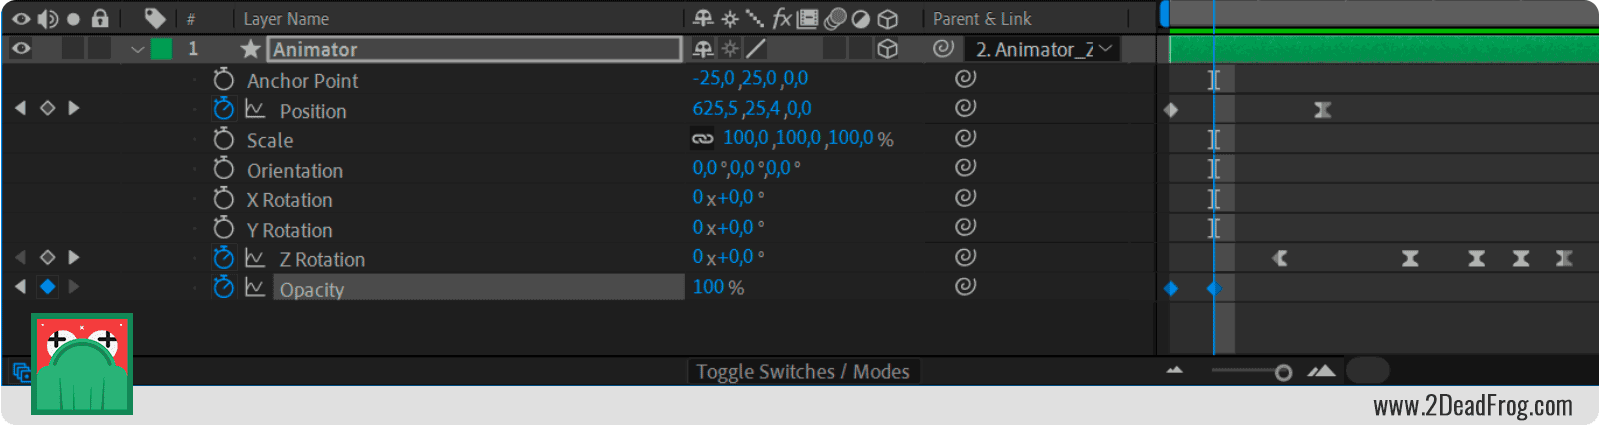
The intent is to make the letters brake and almost turn.

It’s super easy and fast.
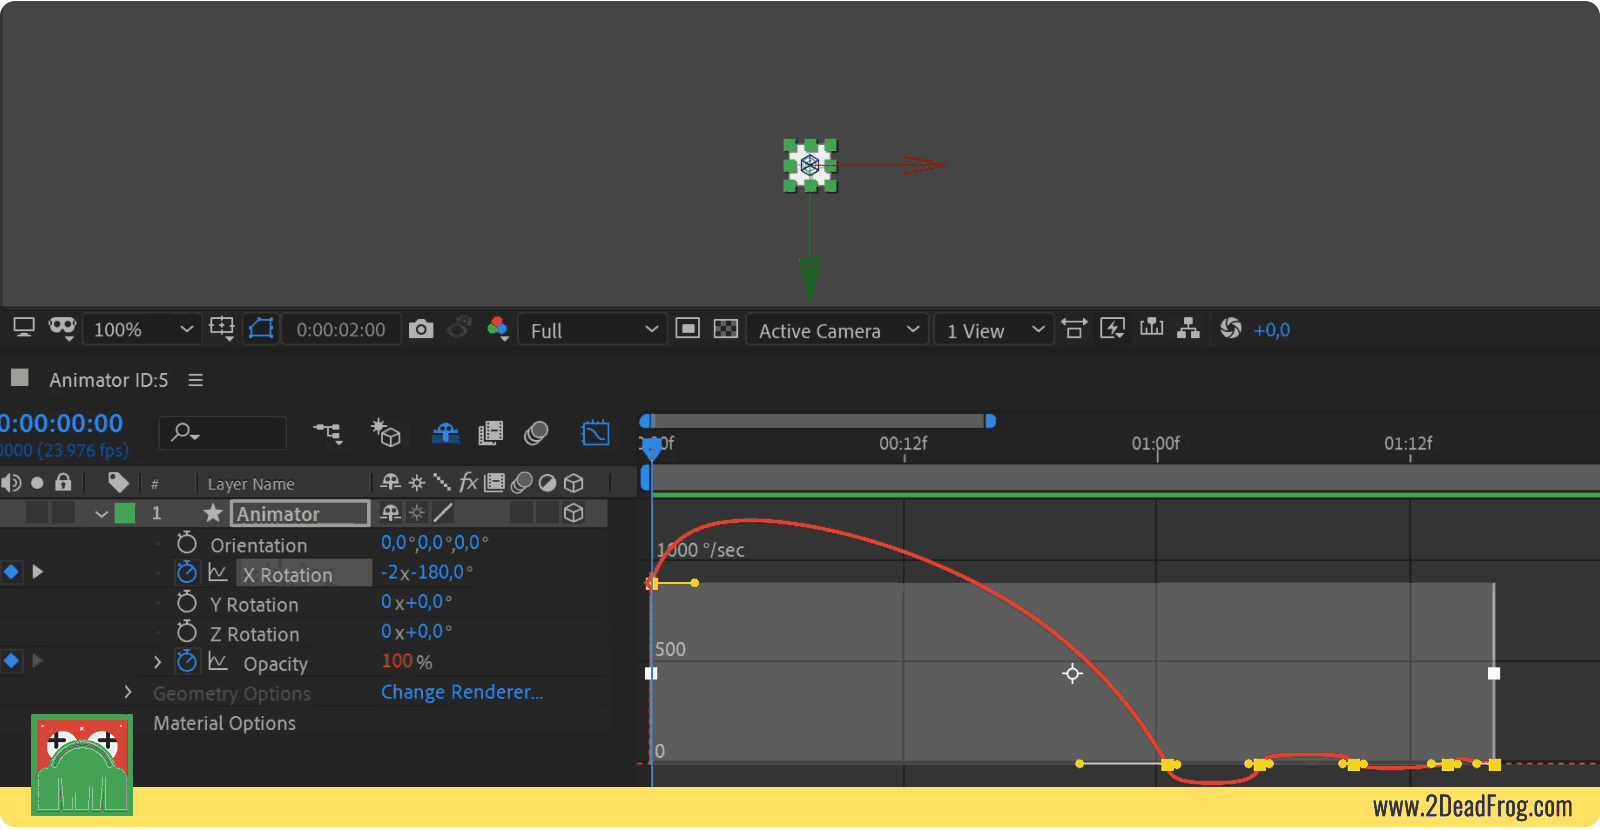
THIRD ANIMATION
This is also a position animation in which we will greatly edit the Bezier of the animation path. But this time while also working on the Z-axis.

1. Create a position animation from zero to 20 frames, at the first moment the Z position should be 8000. At 20 frames, the position should be [0,0,0].
Edit the motion curve to look like the image below. Note that I enabled the side view to manipulate the curve in depth. Adjust the second keyframe so that it has zero speed, and approximately 75% influence.
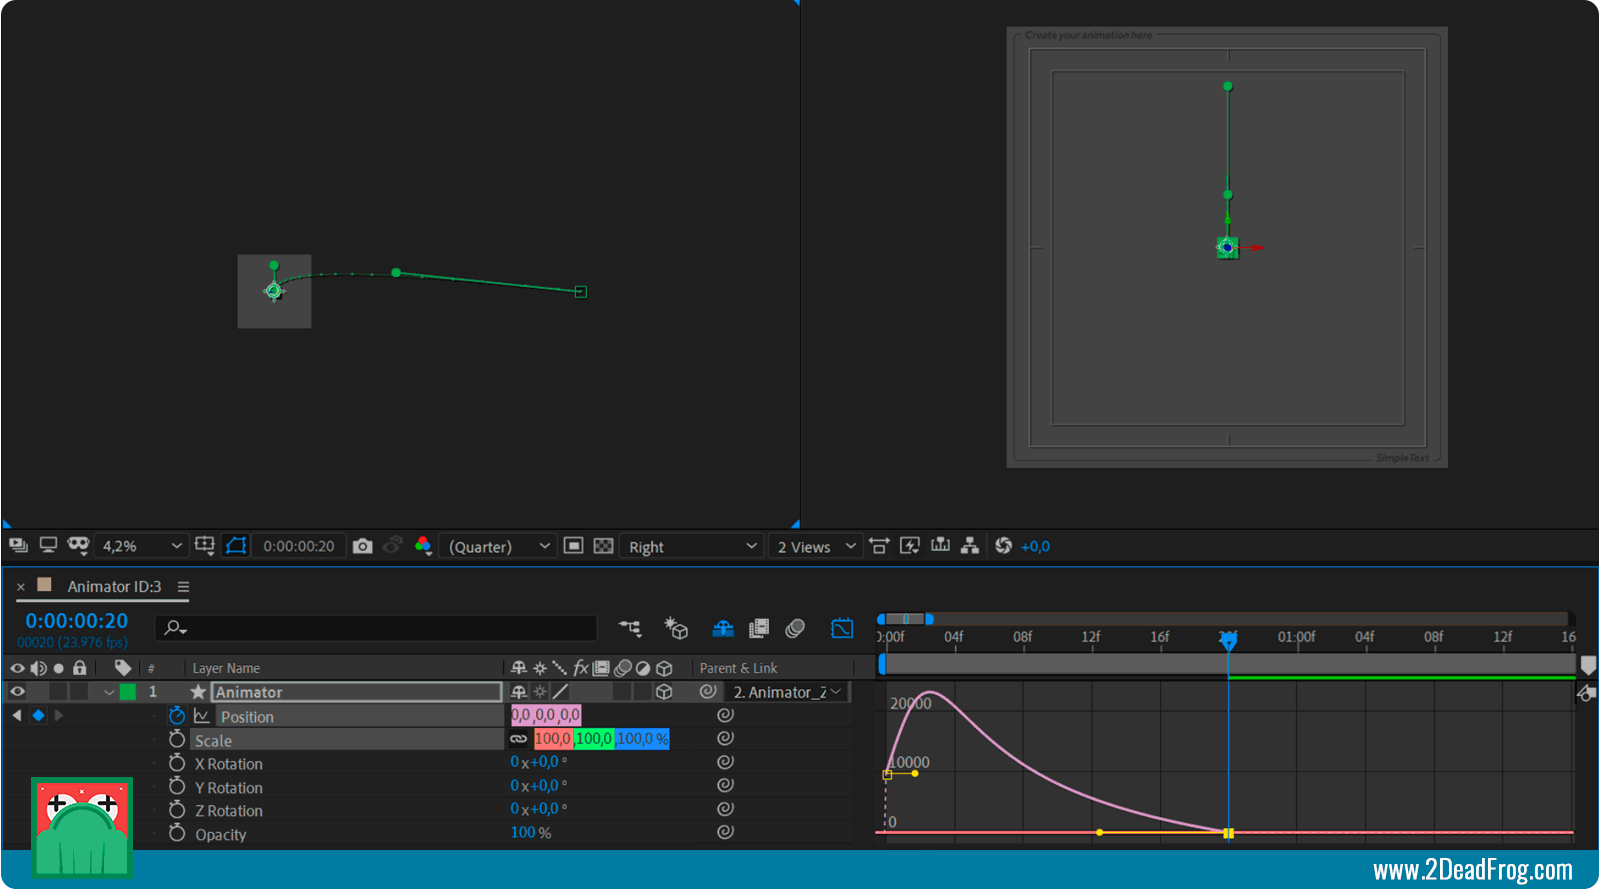
2. Animate the controller’s X and Y rotation to give the impression that the rotation is following the path mapped by the position. You will need to create more than one point, and adjust the motion curves so that the animation looks natural.
3. Animate the scale from 0 to 100% in 3 frames at the beginning, so that the lettering does not appear suddenly.

It’s much easier to create depth when you can play with the movement path curves in the different axes.

A simple 2-point animation can show a very interesting movement like this.
FOURTH ANIMATION
We will apply some animation principles to make the animation of the text more interesting. For that, we will mix 3 properties, position, scale, and rotation. As this movement is more complex, I won’t literally describe each step, but, if you have doubts in any of the steps, just ask in the comments.

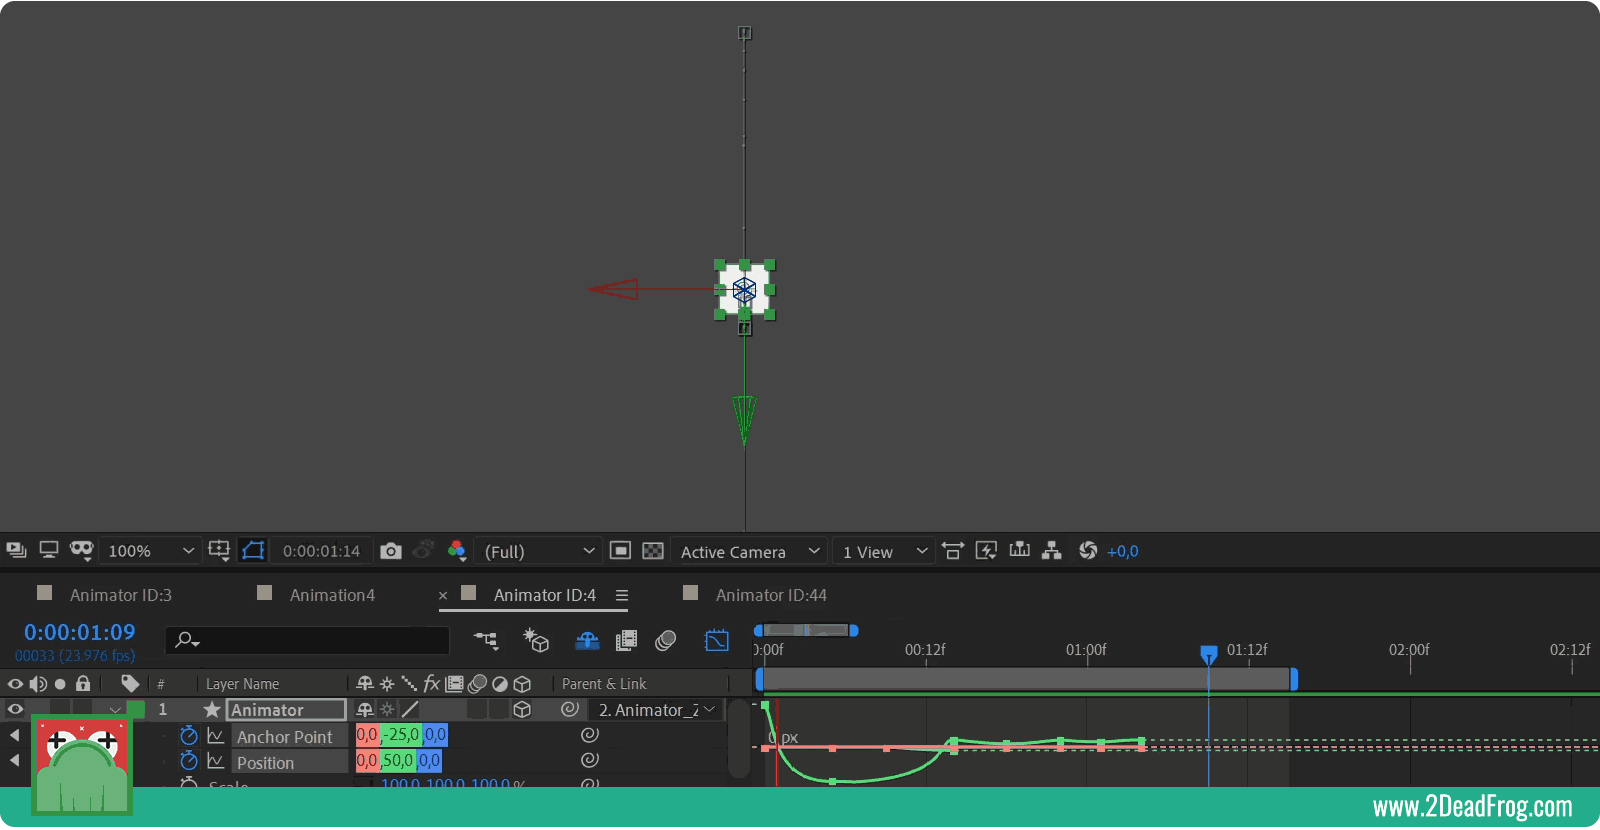
1. Create the position movement on the Y-axis according to the image below. The intention is to make the controller appear from below, stay in the air for a while, and then fall with exaggerated movements. Remember to edit the speed curves in the Graph Editor, this will be quite useful, especially in the second key frame, which give the impression that it hanged in the air for some time.
Note that before the controller reaches the ground, a correction is made to Anchor Point to give the impression that it is at the foot of each letter. The objective is to make sure that, during rotation, the axis is in the center, and during impacts, the axis is at the base of the controller.
2. The rotation keyframes must be 2 frames before and 2 frames after the highest position keyframe, and must be from -180 to 0, you can apply Easy Ease on them (F9).

3. Scale animation must happen almost in a synchronized way with the position key frames, but whenever the controller is going up or down, we should give the impression that it’s stretched. Whenever the controller is hanging in the air, or suffering an impact on the ground, we must give the impression that it’s squashed.
Use values that maintain the original controller volume, for instance [80,120], [110,90]. The sum of the two values is always 200. This will make the squash and stretch effects more consistent.
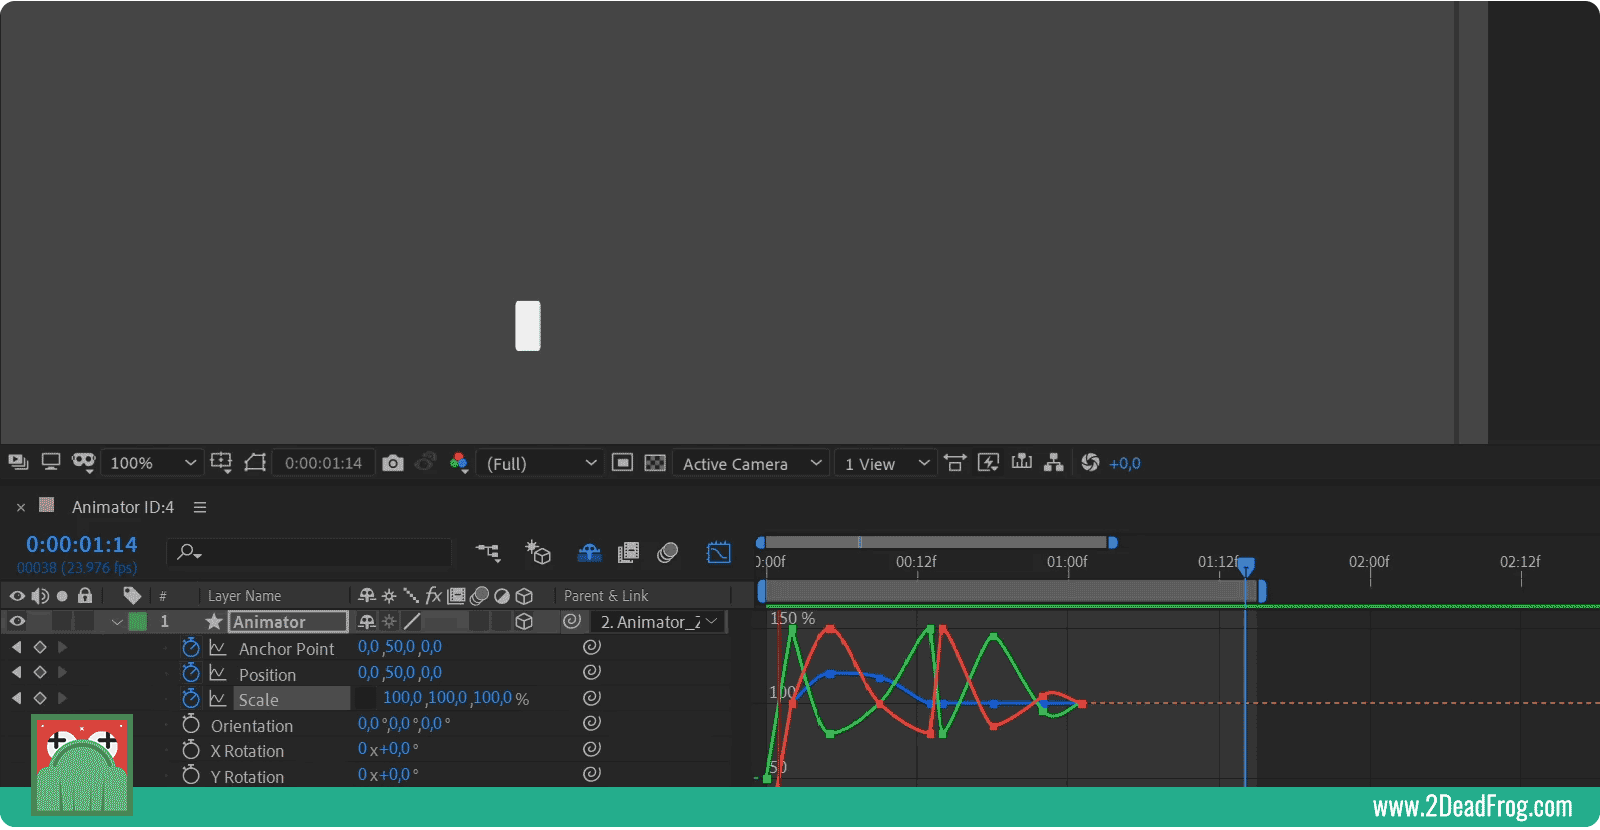
4. Have the controller start with a zero scale so that the letterings don’t suddenly jump in.
This animation shows how to use a controller and that can make text animation something fun.

Create different animations based on the principles of animation. I’m sure the results will be top-notch.
FIFTH ANIMATION
This animation seems quite simple, but it’s the most complex of the 5 examples. The intention is to show how you can use expressions to control your animations. This opens a new realm of possibilities.

1. Prepare your controller to rotate it around your Anchor Point. To do so, put the value 60 on the Z-axis of the Anchor Point and the position.

2. Create an animation in X rotation, it should come from -900 to 0 in 40 frames. Make a spring-styled animation on arrival to make the movement more realistic.
3. Whenever the text is rotating backward, it must disappear, for this, I will use an expression that makes it transparent whenever the rotation value is greater than 90 and less than 270.
Click while holding ALT on the opacity’s keyframes button, the famous ‘little watch’. This will show the field to add expressions to this parameter.

In the first line, we will set a variable for the X rotation.
Then using expressions, we will create the logic we expect: if the rotation is greater than 90 and less than 270, the opacity will be 0, if not 100.
Code
rt = transform.xRotation;

if (rt > 90 && rt < 270) {
	0;
} else {
	100;
}
4. Our problem is that, although After Effects only shows values from 0 to 360, and the number of turns in the controller, it computes the property’s total value, therefore, for values greater than 360 as is our case, this expression will not work. To solve that, let’s use the following expression in the X rotation:
Code
var v = transform.xRotation;
var n = 0;

if (v < 360 || v > 360 ){
	n = Math.floor(v / 360);
}
v = v - 360*n;
Practically speaking, this expression makes sure that no matter how big the value, After Effects will always keep the value between 0 and 360.
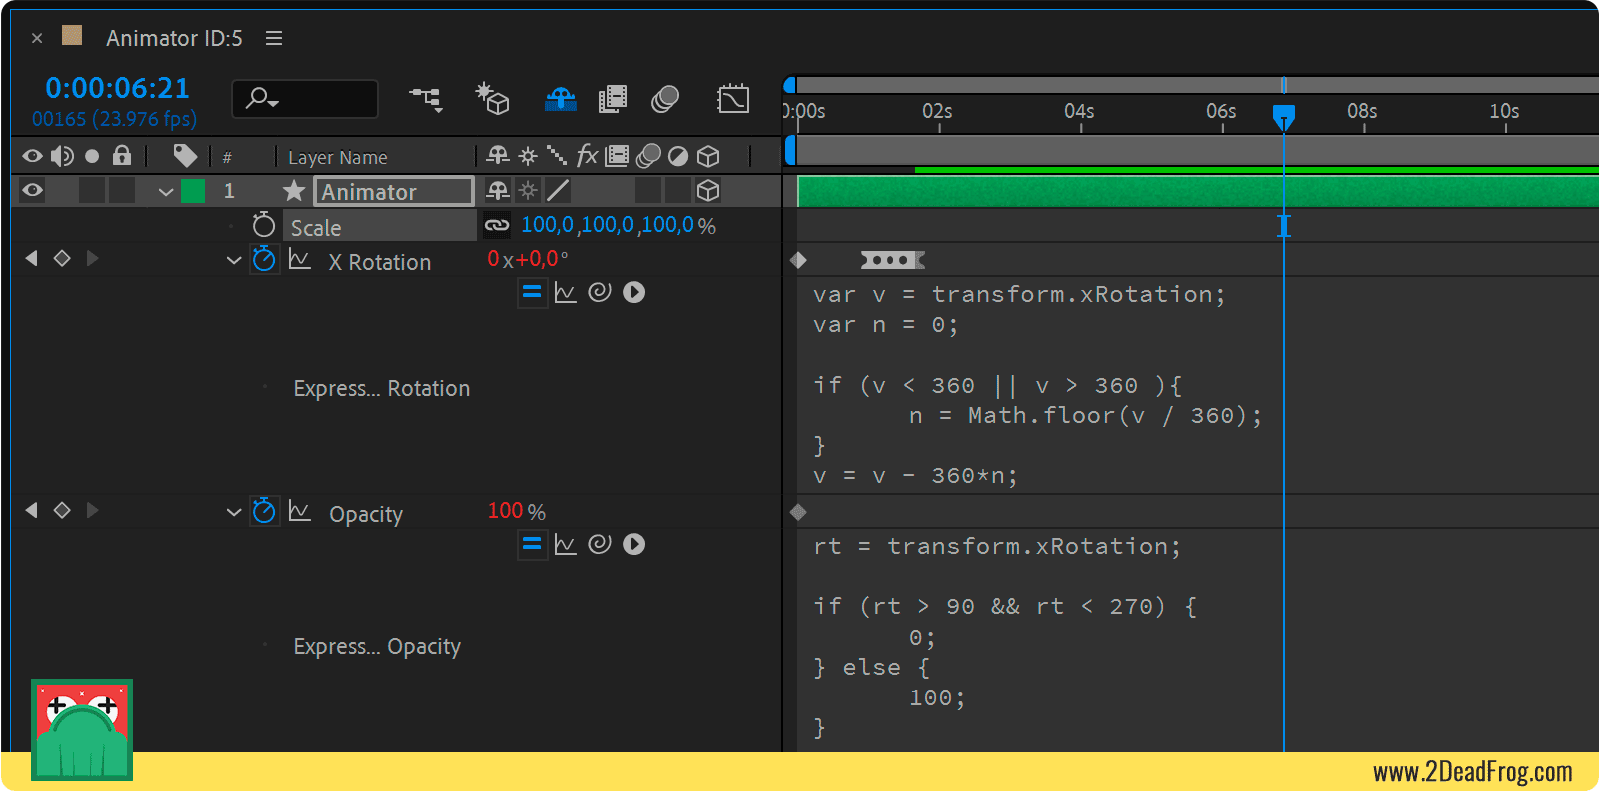
I must confess that I did not find this expression by myself, Filipe Consoni helped me with it, and the expression worked perfectly for what I needed!
The logic is as follows: If the value of the rotation is greater than 360, the expression will calculate the number of turns, and will subtract those, keeping the value between 0 and 360.
The animation is ready, an effect similar to what we see in the casino machines.

Creating this sort of animation without using expressions is possible, but, in this case, the expression gives us more freedom to make the animation as needed. If the text needed more turns, it would not be necessary to manually animate the opacity.
GET TO KNOW SIMPLE TEXT
I believe that the text animation solution taught in this article is outstanding, and I want to make it accessible to as many people as possible, so the projects created in this tutorial are available for free download at the end of the article. But, if you want to experience this technique in a simplified way, I invite you to know Simple Text.
It’s a script that I developed to make this type of workflow extremely simple, you just need one click to apply a controller to a text layer, you can also choose different types of delay and work with multiple controllers.
CREATE TEXT ANIMATIONS!
I hope you enjoyed experimenting with text animation in a different way. Share the animations created with this technique, I’m quite curious to see them! If you experienced difficulties in some stage of the animations, feel free to download the project.
Write in the comments in case you have any questions, I will be happy to help!