
Secondary Actions: How to Use on Your Character Animation
If you work with character animations, or if you use the Design and Motion Character Kit, then I have some tips on secondary actions, which can make your work easier and your characters look more ‘lively’. But, before anything else, here’s a little bit of history.

I loved magic as a child and my absolute favorite was the illusionist David Blaine. I was such a fan that I actually lived with a deck always in hand, trying to emulate his tricks to my friends.
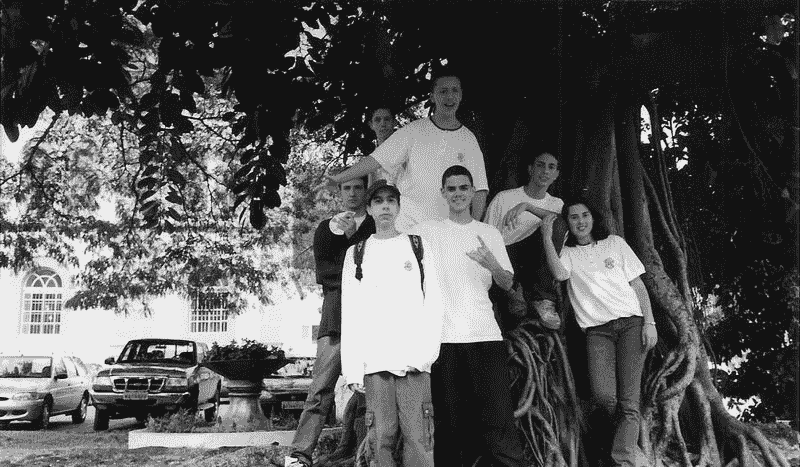
Cringe moment: picture myself in my high school’s third year. That boy with a deck in his hands.
I liked David Blaine’s magic tricks because he didn’t need anything. He did not have a stage filled with light and shadows, nor a beautiful assistant to distract the spectators. It was just him and the audience. The tricks would take place in real time, right in front of the audience’s glance.
What does this have to do with character animation? You will understand it soon.
Character Animation in After Effects
Animating a character in After Effects is a major issue. And to make the problem easier to address, we need to divide it into tinier and more manageable problems, which are simpler to solve. By doing this, moving from the easier to the hardest ones, everything will get solved in a blink of an eye and your character will look lively.
It’s not my intent to teach you how to create and animate a character from scratch, given that you can already find plenty of quality materials online with this goal. Specifically, Super Character Animator (English version coming soon) of the extremely talented Feitosa, Neto and Beiço, and the countless tutorials on the websites of DuIK and RubberHose. I want to help you to solve one of the tiny problems you encounter when creating a character. With this, you will respect the eighth commandment.
The eighth commandment
Animation has several principles, this one is one of my favorites. We are talking about tiny details that are extremely helpful when it comes to making an animation look livelier.
That was when I found that animation and magic have a lot in common. After all, what we see is not always what exactly happens. Simple animations can give us the illusion that we need to see in order to understand a movement.
Like magic, they trick our brain and leads us to think that the character’s outfit is made of fabric. That it has silky hair dangling in the wind and that its earrings swing back and forth following the head movement.
These animations are called secondary actions. The eighth item of the 12 principles of animation.
Pre-compositions
Creating these animations is much easier if, after having already animated the character, you separate these parts of the body, creating animations in a new comp, without worrying about all the other controllers and layers which are making the animation happen.
To do this, during the rigging step, you need to prepare your character to receive these animations. The easiest way is pre-composing some parts of the character, the ones you believe will get these extra animations.
With Design and Motion Character Kit, the project number one priority was to work with pre-compose parts, since it was conceived to receive different textures that allow the exchange between characters, thus automatically using that same rigging.
The fun part is that you have the possibility to animate those textures to create different effects on your character.
It doesn’t matter whether you are working on your own characters or in D&M Charkit, the practical element of this process remains the same and can be followed in both cases.
Workflow
In this example, I’m working with secondary actions on the character’s body and head. In my rig, the head is split into 3 planes with different depths, giving it an illusion of volume (there you go, the magic is happening). I will work the animations in each one of these planes.
The first step is to build your character’s animation. Almost certainly, while you are creating the secondary animations, you will want to make adjustments in the main animation, so don’t worry if the latter does not seem perfect during this step.
This is the character’s animation without any texture, only the main action.
Now the secret is having the chance to animate the secondary actions and see them directly in the final character. To do this, click on the name of the composition and then ‘New Comp Viewer’. In this new ‘Comp Viewer’, click on the button ‘Always preview in this view’. This will create a ‘Comp Viewer’ that is locked in your final character, making sure that all ‘ram previews’ take place on it. In the other half of the screen, you will have another ‘Comp Viewer’ that you use to isolate the animations.
Secondary Actions
This is the hot stuff, in other words, having the opportunity to create each secondary action and see how they all look. Lots of magic tricks are needed to make the animation look cool .
Skirt
The movement of the wind impacting the skirt is a combination of two different effects. A rectangle shape layer that slides across the screen with a modifier ‘ZigZag’, masking the skirt. And the skirt with animated ‘Puppets’ following the character’s movement. Some of the ‘Puppets’ points have the ‘wiggle’ expression to simulate the action of the wind.

Shirt
The shirt’s movement is a mishmash of ‘CC PageTurn’ on the left side and ‘Puppets’ with ‘wiggle’ on the right.
Hair
I created the animation of the hair on the head’s first and third planes. I created a main strand using a drop-shaped ‘Shape Layer’ and applied a ‘Wave Warp’ to create the effect of the wind impacting the hair.

The rest of the hair layers are basic ‘Shape Layers´ that are scaled to create the transition, which gives the illusion of having the hair dangling in the wind.

I did the animations of the character’s facial expressions using the intermediate plane, and rotated the earrings in accordance with the primary movement. Here’s the overview of the animated texture:
Paper sheets
For the scenario, the flying paper sheets were created using similar techniques. ‘CC PageTurn’ in some, ‘Wave Warp’ in others, just to have some variety.

Conclusion
This is the final composition of primary and secondary animations.
When you are having a difficult day at work, when problems come at you one after the other, let your hair down and relax in the wind…
…but if the task in your hands is creating more lively and charming animations of characters, use the pre-compositions, split the screen in After Effects to follow the final outcome and have fun with secondary actions.
Remember, it is not always necessary to find highly complex solutions to create some effects. Often, simple animations with the right pace are enough to create the illusion that a movement has really happened. The girl doesn’t really untie her hair, this is what I want you to think. Like a magic trick!
If you enjoyed this article, subscribe to the newsletter to be notified when new articles are online.
Share this article with the animators and motion designers you know. Like the page on Facebook and Instagram. That will make me extremely motivated to keep on writing!
Jack, 2DeadFrog.